← Installation · Home · Next: Building Pages →
There are two ways Claude can talk to your site. Pick whichever matches how you use Claude:
| Method | Best for | What you copy |
|---|---|---|
| MCP custom connector (recommended) | claude.ai (web), Claude Desktop, Claude Code | The MCP connector URL |
| API key + prompt | Pasting a quick instruction into any chat, or terminal/curl |
The Quick connect line (or the API key) |
The MCP connector is the cleanest experience — Claude gets proper tools (divi_create_page, divi_get_design_system, etc.) instead of having to craft raw HTTP requests.
Option A — Add the MCP connector to claude.ai (web) #
- In Settings → Divi Connect, click Copy MCP URL.
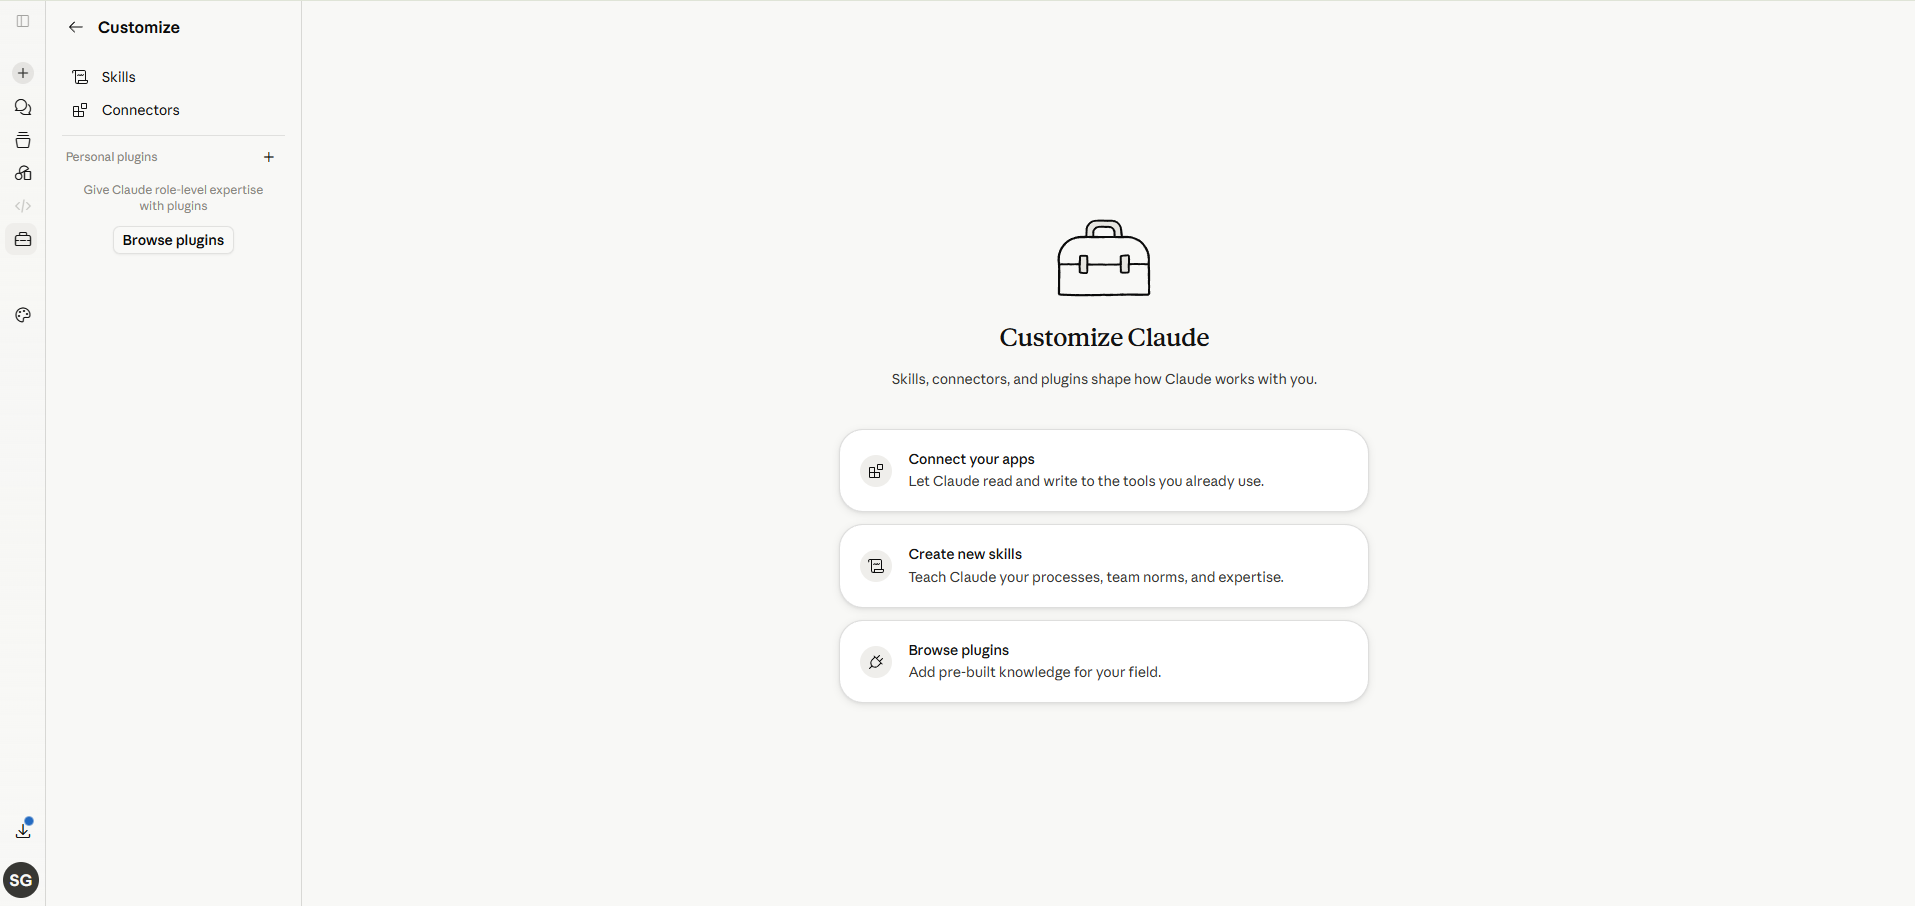
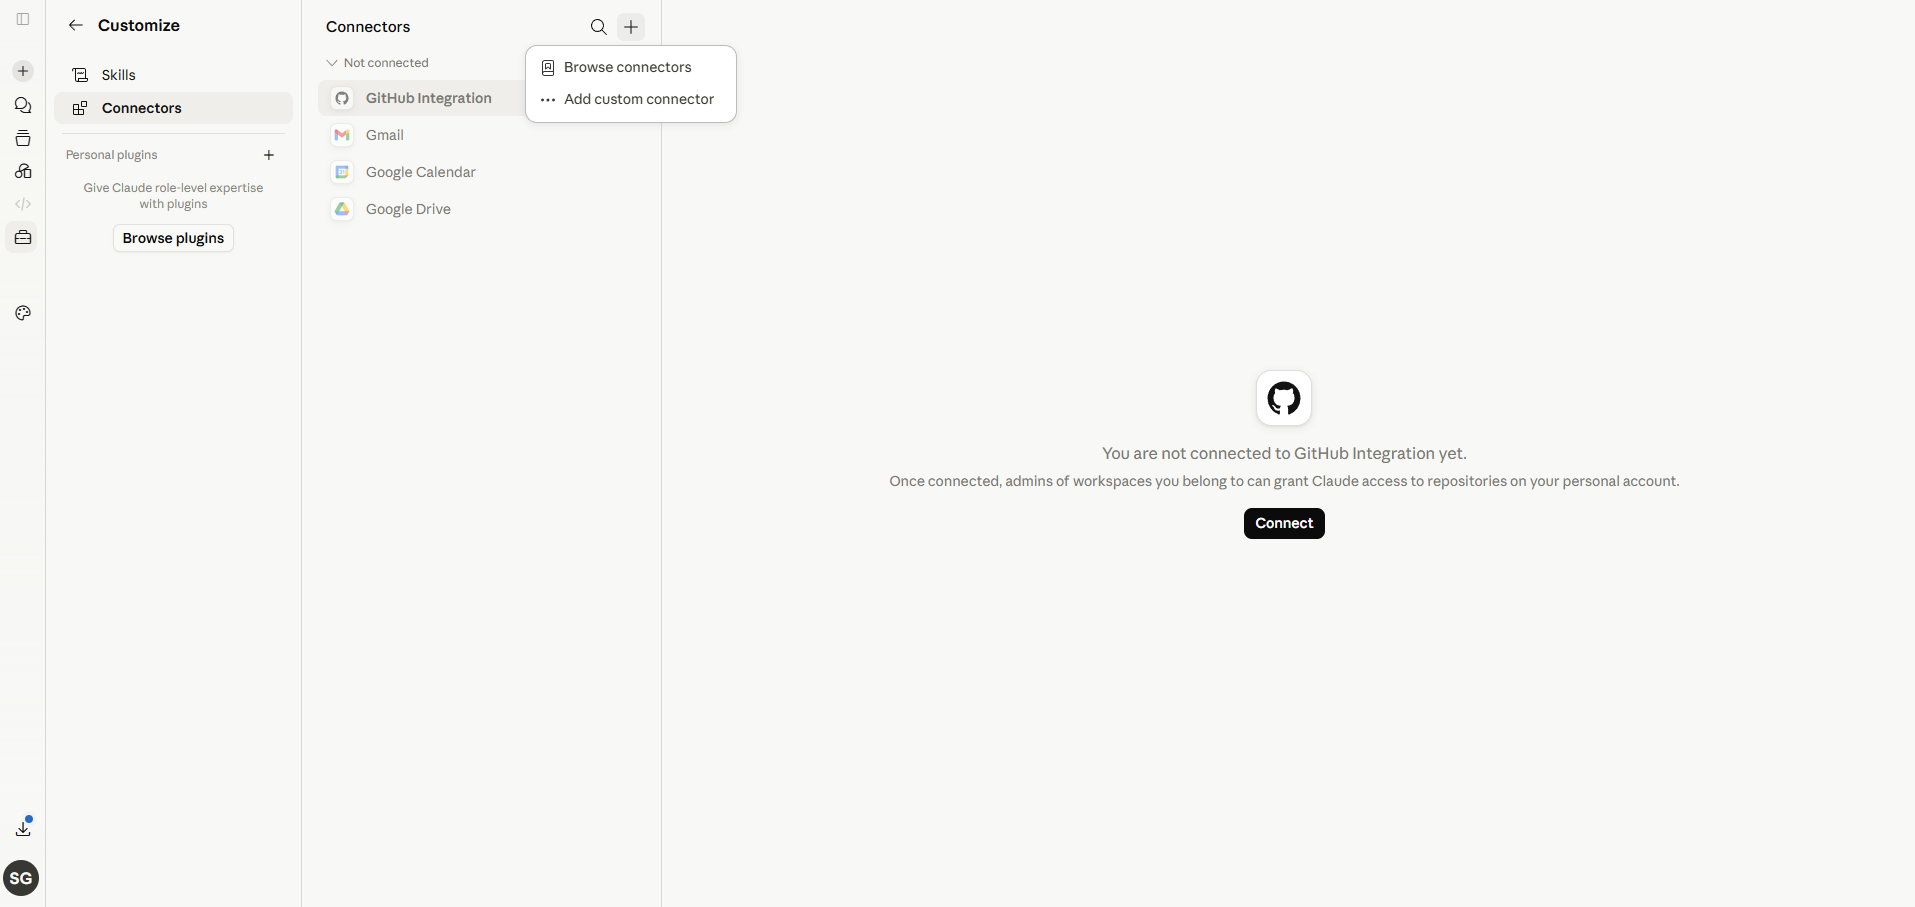
- Go to claude.ai → Settings → Connectors.
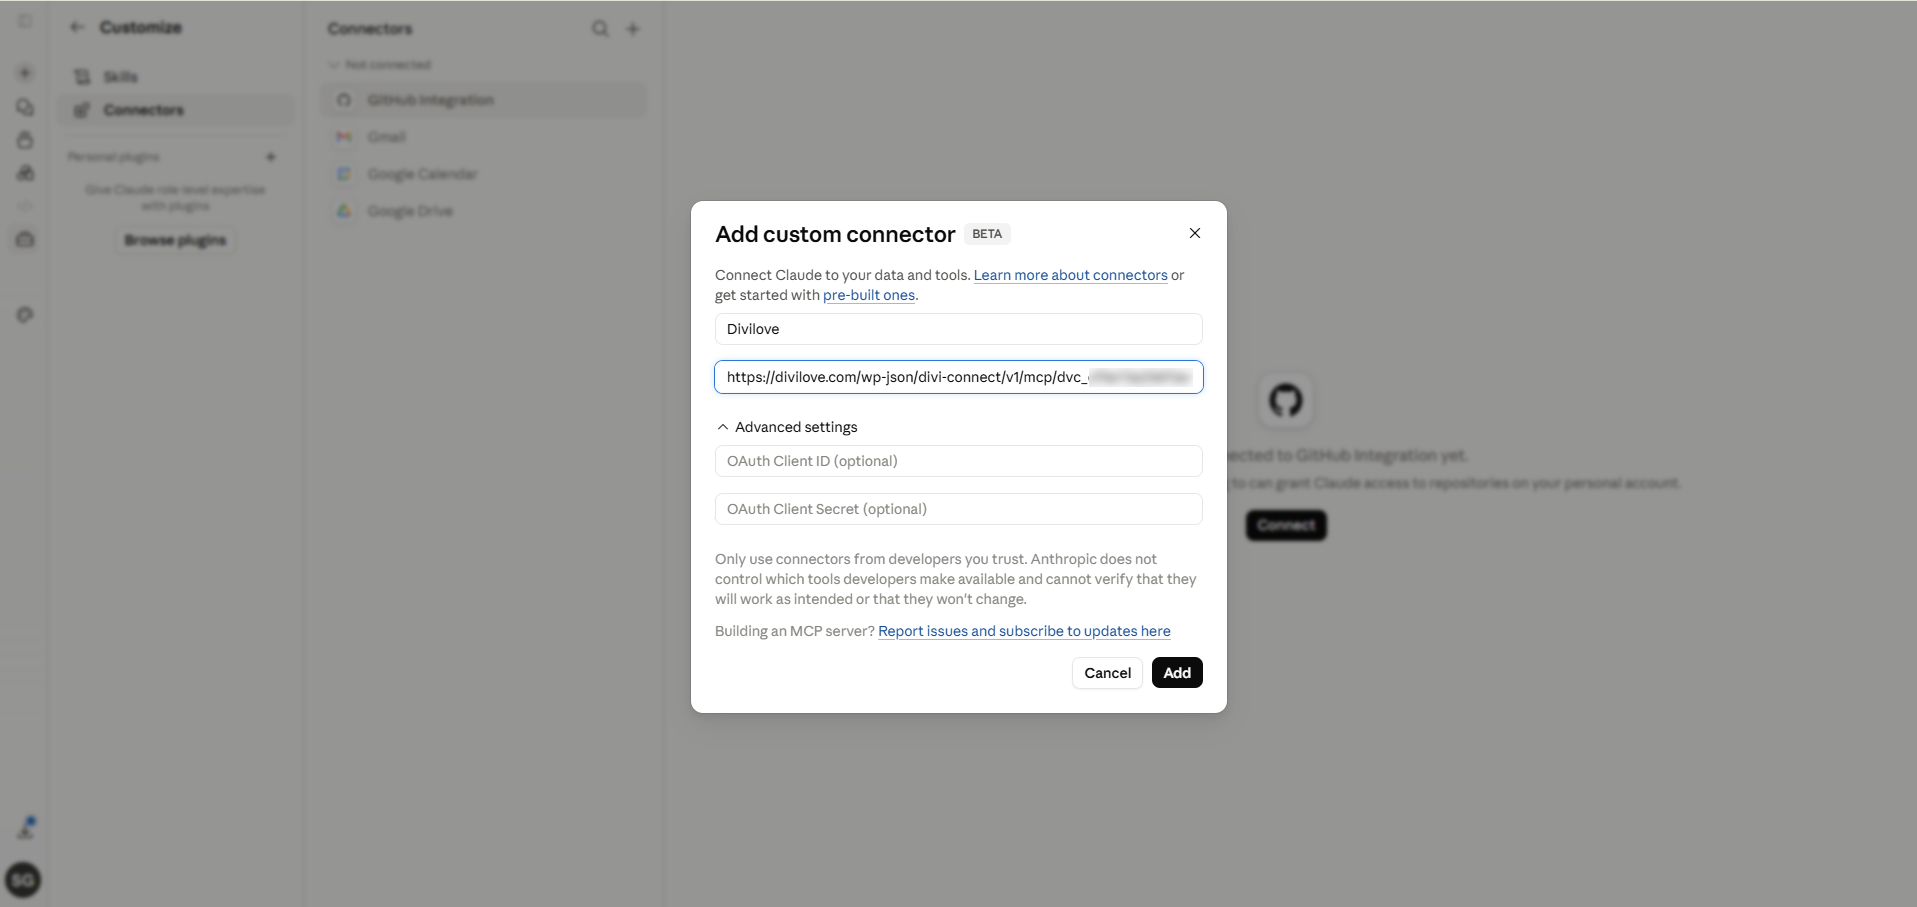
- Click Add custom connector.
- Paste your MCP connector URL. Leave the OAuth fields blank — the key is already in the URL.
- Save. Claude will connect and the connector will appear with your site’s name, e.g. “Divi Connect – My Site (mysite.com)”.
Here is the whole flow, step by step:
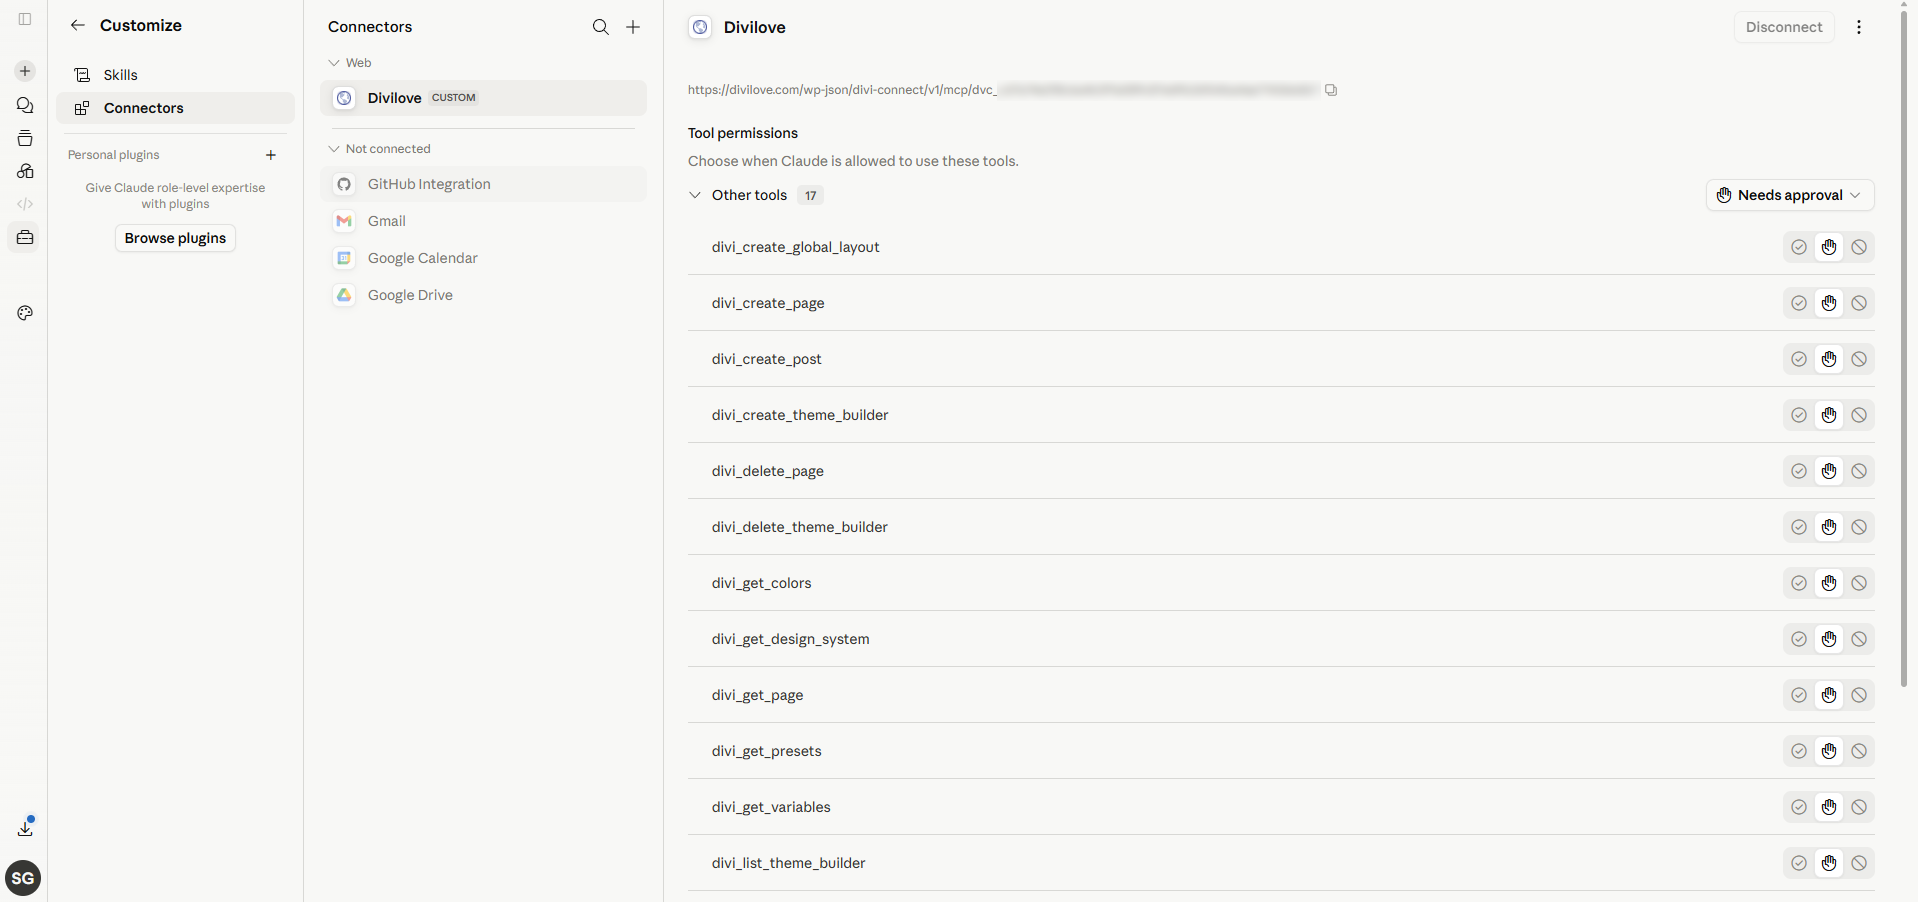
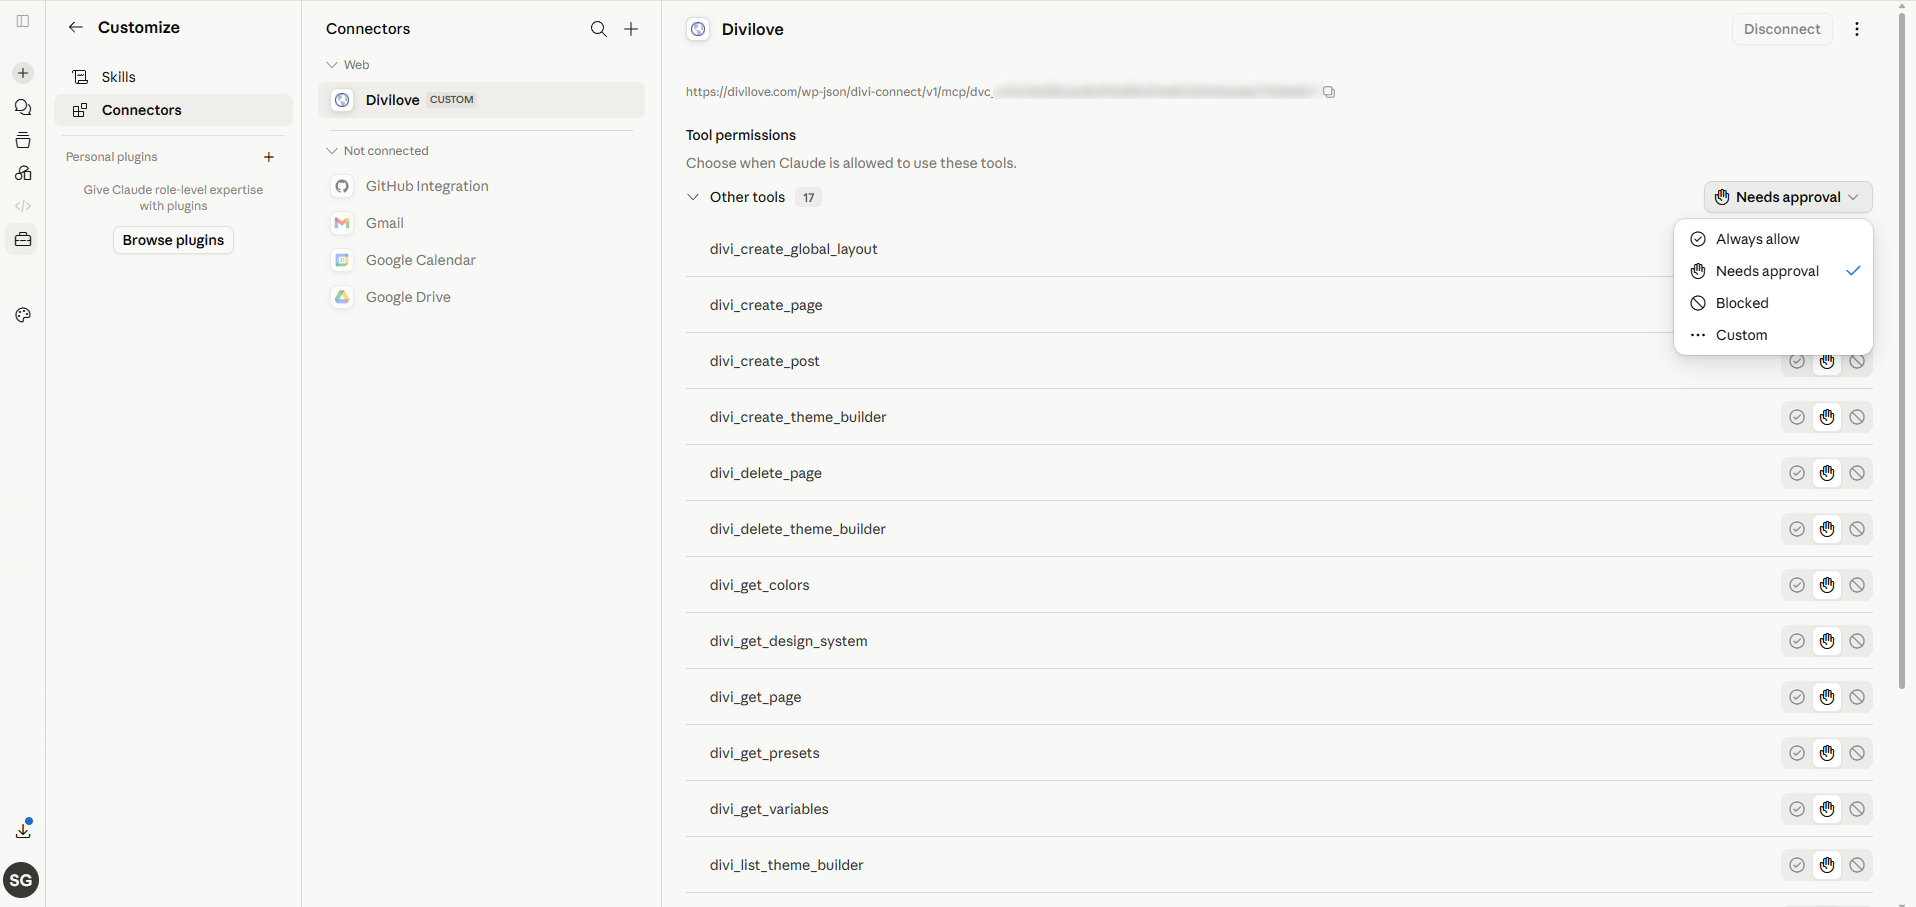
Once added, start a new chat and the Divi Connect tools are available. Try: “What site are you connected to, and what colors does it have?”
Free Claude accounts can add custom connectors and build pages. You don’t need a paid Claude subscription.
Option B — Add the connector to Claude Desktop #
- Copy the MCP connector URL from the settings page.
- In Claude Desktop → Settings → Connectors → Add custom connector, paste the URL (leave OAuth blank).
- Save and start a chat.
The dialog is identical to the claude.ai walkthrough above — the same Add custom connector screen.
Option C — Add the connector to Claude Code (terminal) #
Claude Code supports HTTP MCP servers. Add Divi Connect with one command (paste your MCP URL):
claude mcp add --transport http divi-connect "https://yoursite.com/wp-json/divi-connect/v1/mcp/YOUR_KEY"
Then in Claude Code, the divi_* tools are available. Verify with /mcp inside Claude Code, or just ask Claude to read your design system.
Or skip MCP entirely: copy the Quick connect line from the settings page and paste it into any Claude chat. It tells Claude your base URL and key and asks it to make the HTTP calls itself with its web tools or curl:
Connect to my Divi 5 website through the Divi Connect plugin. Base URL: …
send the header "X-Divi-Connect-Key: …" on every request …
Connecting a local site #
When the plugin detects a local address, the settings page shows a tunnel hint right under the connector URL:
If your site runs locally (for example in Local by Flywheel, with a .local address), claude.ai in the cloud cannot reach it directly. You have two choices:
- Use Claude Code or Claude Desktop on the same machine — they can reach
http://yoursite.localdirectly. Use Option C above. - Expose the site with a tunnel so claude.ai (cloud) can reach it. The settings page detects a local site and shows a hint. For example, with cloudflared:
bash

  cloudflared tunnel --url http://yoursite.local
This prints a temporary public https://…trycloudflare.com address. Your connector URL then becomes:
text

  https://<random>.trycloudflare.com/wp-json/divi-connect/v1/mcp/YOUR_KEY
Paste that URL into claude.ai as the custom connector.
The settings page shows this tunnel hint automatically when it detects a
.local,.test, orlocalhostaddress.
Did it work? #
In a fresh Claude chat, ask:
“Which site are you connected to, and what’s in its design system?”
Claude should reply with your site name and URL, then list your colors, variables, and presets. That confirms the connector is live. If not, see Troubleshooting.
← Installation · Home · Next: Building Pages →


